


Introduction:
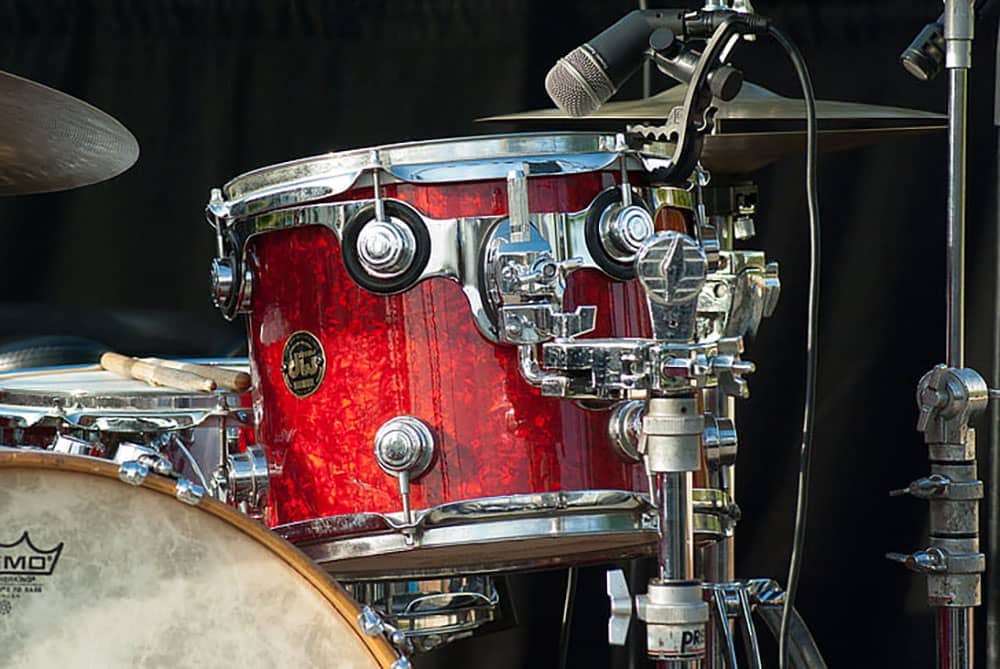
Drum kits are one of the prettiest instruments to look at. There’s no doubt about it. However, with so many components making up a set, your drum kit is very prone to get dirty over time.
Dust starts to gather and hardware starts to lose its shine. If your drum kit is left sitting somewhere for too long, it’s going to need a good clean every now and then.
If you’re wondering how to clean your drum set properly, you’ve come to the right place.
How to Clean a Drum Set
Table of Contents
ToggleHow Do You Clean Hardware on a Drum Set?

The first thing to do when cleaning is to wipe down the hardware with a dry cloth. There’s most likely going to be a lot of dust, so the dry cloth will get rid of it. The most efficient thing to do is to completely strip all the stands and mounts. This will allow you to get into every nook and cranny.
Once you’ve gotten rid of the dust, you can move onto some deeper cleaning. Most pieces of hardware are made of chrome-plated steel. These chrome stands tend to get dull over time. They can even start to rust if you leave them for too long.
You need to clean the hardware to get rid of all the grit on the surface. You can use wax to do this. An interesting DIY solution is to use some Coke and aluminum foil. Put some coke onto the foil and wipe the stands down gently. It works wonderfully!
As Coke is acidic, it does the trick in eliminating light rust. Once you’ve wiped the hardware with the aluminum foil, wipe it down with a dry cloth to finish the job.


How Do You Clean Drum Hoops?
You can use the same process of cleaning on drum hoops as you can with hardware. Similarly, most drum hoops are made of chrome-plated steel. To clean them well, you’re first going to need to remove the hoops from all the drum shells.
Drum sticks chip when hitting the hoops, resulting in a large amount of stick cuttings living around the hoops when you take them off the shells. Wiping these off will be the first part of cleaning the hoops.
The next thing to do is wipe away all the dust with a dry cloth, similar to wiping down all the hardware. Once all the wood and dust has been cleared, you can wipe the hoops with some wax or the aluminum foil and Coke.
Make sure to then wipe the hoops with a dry cloth to get rid of all the remaining residue. Remember to clean the bottom hoops as well. The hoops of the resonant heads often get forgotten when it comes to cleaning your drums.


How Do You Clean Drum Shells?
Drum shells need more careful maintenance as it’s very easy to damage the finish if you’re not careful. When cleaning your drums, it’s best to clean the shells last as you’ll need to remove the hardware and hoops. The hardware and hoops would have already been removed if you save the shells for last.
Shells are wood instead of metal, meaning you need to take a different approach. Firstly, wipe all the dust away with a slightly damp microfibre cloth. That’s often the only cleaning you need to do with shells as they don’t get as dirty as metal does.
If you feel you need to do some deeper cleaning, you can use the damp cloth along with a small amount of dish soap. Make sure the cloth isn’t very wet. A very wet cloth will do some damage to the finish of the shell, especially if it’s a lacquer finish.
Shells are the easiest parts of the drum kit to clean. If you need to give them a quick dust, you could just do it every now and then while the drums are still set up.
Maintaining Cymbals
Taking care of the cymbals is crucial. Not only does it keep them looking clean and shiny but it also helps preserve their tonal qualities. In this section, I will show you how I clean and tune my cymbals.
To clean my cymbals, I start by removing them from the stands. This allows me to access their entire surface and avoid any accidental damage.
Next, I use a soft and lint-free cloth to gently wipe away any dust, dirt, or fingerprints. For more persistent marks I wet the cloth with a little water and apply some cymbal cleaner specifically designed for this purpose.
It’s essential not to use harsh chemicals or abrasive materials. Those can damage the cymbal’s finish and affect its sound.
Once the cymbals are clean I let them air dry completely. After they are fully dry, I carefully reattach them to their stands, ensuring there are two felt pieces on each stand, one underneath and one on top of the cymbal.
Taking care of Your Drum Heads
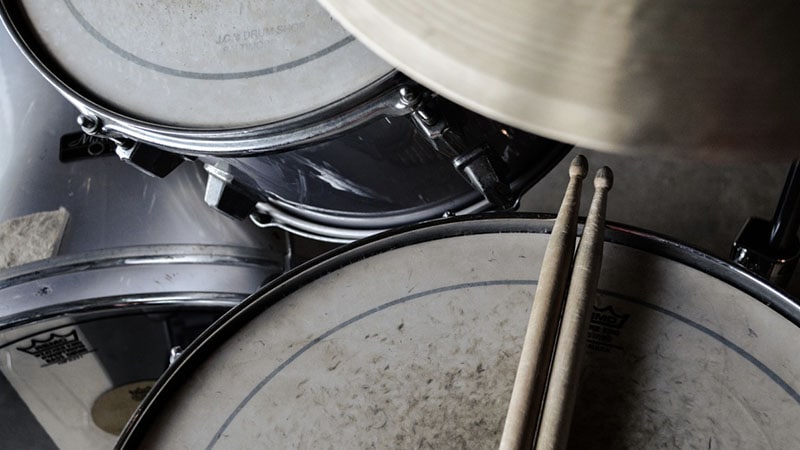
Moving forward the next step is to take care of my drum heads. They play a significant role in the tonal sound of my drum set. Maintaining them can be a daunting task but with the right techniques my drum heads last longer and perform better.
First, I make sure to regularly inspect the drum heads for any signs of wear and tear. This includes checking the coating that can get worn down after extended use.
If I notice that the coating is no longer even or that there are significant areas of damage, I replace the drum head.
To make sure that my set is sounding as good as possible I always tune them. Using a drum key I tighten the tension rods in a diagonal pattern, moving in a criss-cross manner around each drum head.
This ensures even tension and prevents any one side from becoming overly tight. I also pay special attention to the shape of my drum heads.
To protect the drum heads I avoid over-tightening them. This can cause unnecessary strain on the heads and lead to premature wear. On the other hand, I also avoid having them too loose. This can lead to a poor and flabby sound.
Best Products for Drum Cleaning
The drum and cymbal cleaners from MusicNomad are excellent products to use for cleaning drums. They’re specifically designed to clean drums, ensuring you that they work extremely well.
Another great drum cleaner is the Lizard Spit MP 05. It uses non-toxic carnauba wax to clean your drums efficiently and smoothly. It’s incredibly environmentally friendly as well.
Other great products to use that aren’t specifically made for drums are Windex and 409.
Drum Set Storage and Protection
In this section, I’ll share some tips on how to maintain your drum set by focusing on storage and protection.
First, it’s essential to find a suitable storage space for your drum set. The ideal location should be a dry and cool place with room temperature around 68°F (20°C) and humidity levels between 45% and 55% to prevent any damage caused by extreme temperature or moisture.
Additionally, avoid direct sunlight, this can cause warping and fading of your drums’ finish.
When storing your drum set, it’s crucial to cover each piece with a clean cloth or even better, use drum bags or cases designed for your specific drum type. These will offer additional protection against dust, scratches, and potential damage.
Before putting the drums away, I recommend letting the drumhead slightly loose to prevent unnecessary tension and reduce the risk of warping. But be sure to remember the original tension of your drumheads so it’s easier to retune them when it’s time to play again.
Why is it Important to Clean Your Drum Set?
Before we get to the how of cleaning a set, it’s important to understand why you need to clean it. Many drummers don’t clean their drums and fail to see why they should. There are a few vital aspects to consider regarding.
Firstly, your drum kit most probably cost you a fair amount of money. That’s reason enough to maintain it and keep it looking as fresh as it can. If you ever plan on selling your kit, you’ll be able to sell it for more if it’s in the best condition.
Another reason for cleaning your set is to maintain the structural integrity of it. Metal tends to get damaged over time, and your drum set has metal parts all over. If you keep all the parts clean, the damage won’t be as bad as it would if you didn’t clean your set.
Cleaning your kit may also preserve the tone of the drums. Keeping your drum set in pristine shape will allow it to keep the same tones it did when you first got it.
FAQ:
What should I clean my drums with?
The best tool you can have for cleaning drums would just be plain water. Water will often get the job done and it has the least risk factor involved when it comes to cleaning your drums. Using a damp cloth to wipe down your kit will get the job done most of the time.
If you want to do some heavier cleaning, you can use dish soap. Like water, it also has a low risk factor with your drums. Dish soap tends to work a bit better than water when it comes to the stubborn stains on your drums.
As mentioned previously, you can also use aluminum foil and Coke. It’s a great DIY solution to cleaning the metal parts of the drum kit. It’s also a lot cheaper than buying specific drum cleaners.
You can also use Windex to clean drums. Just be careful, though, as some Windex will actually do more damage than good. Be sure to check the labels!
How do you clean an old drum set?
An old drum set will most probably have a lot of rust on it. Once you’ve cleaned off all the dust, you’ll need to start thinking about how to get rid of the rust. There are a few ways to approach this.
If the drum set has a small amount of rust on the hardware, you could probably get it off with scrunched up aluminum oil and some foil. If the hardware is incredibly rusted, you may need to replace those parts and refurbish the kit instead.
It’s become very easy in modern times to find replacement parts for drum kits. You can buy things like drum hoops separately from drum sets. You can also find lugs and snare throw offs etc.
So, consider replacing some parts on the old drum set its current parts are too old and rusted.
How do you remove stains from drum heads?
Cleaning drum heads isn’t a common practice. Since the skins are constantly being hit, they will always have marks on them from the drum sticks. If you’re looking to have clean and pristine skins at all times, you’re going to get very frustrated.
However, it is possible to remove a few of the stains if you want to. You’d just need to get a lint-free cloth and dampen it with a bit of water. Rub the drum head with a bit of force and the stain should start to lessen.
If your drum head is looking incredibly worn and dirty, it’s probably time to get a new one. Drum heads are the second most replaced pieces of drum gear after drum sticks. So, you’re going to have to replace them at some point!
How long should a drum set last?
The lifespan of a drum set greatly depends on how well it is maintained and the quality of its construction. With proper care and maintenance, as outlined in the aforementioned article, a high-quality drum set can last for several decades. Regular cleaning, tuning, and protection of the drum set, as well as storing it in a suitable environment, can extend its lifespan significantly.
Conclusion
Stripping your kit down to clean all the components can be quite a mission. Most drummers will do it only a few times a year and their kits look top-notch. We’d suggest you do the same.
We’d also suggest that you give the drums a thorough wipe at least once a week to keep the dust and grime from building up. Giving it a quick wipe doesn’t require as much effort as stripping it down would.
Take care of your drum set. You’ll thank yourself in a few years when it still looks like you just bought it!